Interlocking Rubber Mats

Overview

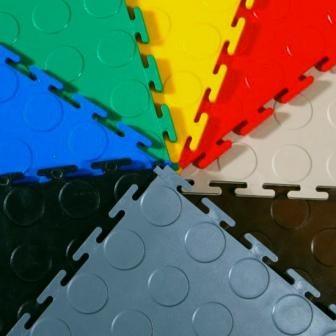
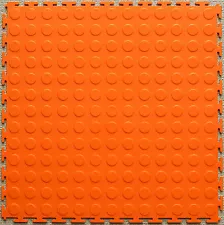
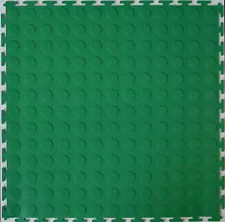
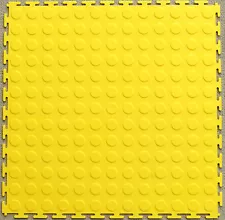
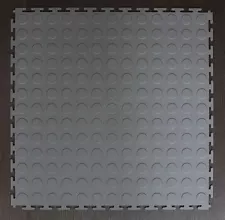
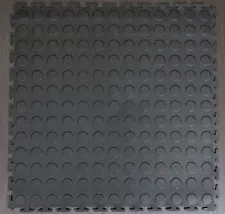
These are commercial and industrial-grade rubber flooring tiles featuring a studded/textured surface for superior traction. The 500mm x 500mm tiles use built-in edge connectors that allow them to be used individually or connected to cover large, seamless areas.


FeatureDetails
MaterialHigh-grade recycled rubber (eco-friendly and durable)
Coverage5 SQM per pack, perfect for medium-sized gyms
Thickness5mm standard thickness for optimal shock absorption
Weight CapacitySupports up to 35,000 kgs rolling weight and 5,250 kgs per tile
Water ResistanceFully water-resistant, ideal for humid areas like gyms with showers
Slip ResistanceR10 anti-slip rating for enhanced safety
UV ResistanceHigh UV resistance, suitable for indoor and outdoor use
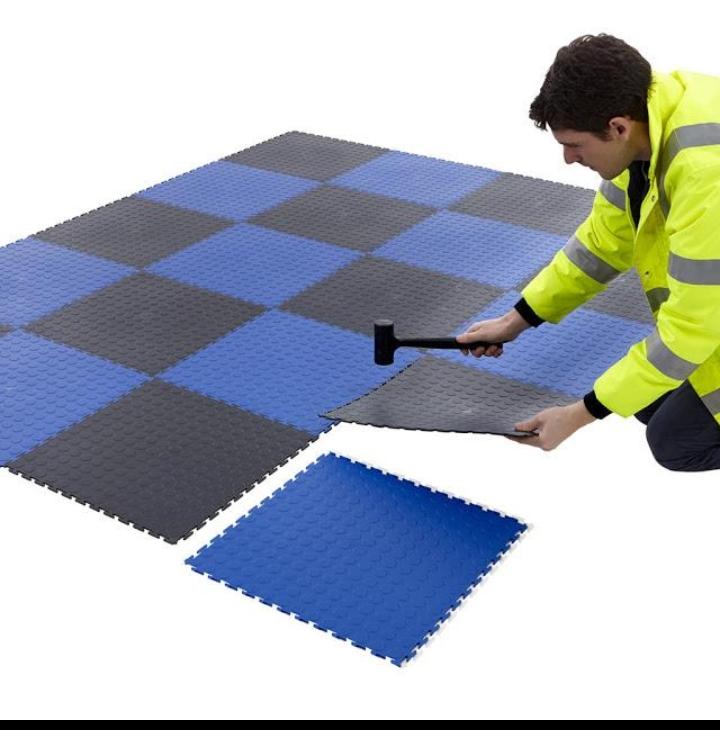
Colors AvailableBlue, Black, Yellow, Green, Red, Grey, Brown, White
Warranty1-year limited manufacturing warranty

Benefits & Features

  • Protection: Shields floors from heavy or vibrating equipment and reduces impact breakages.

  • Comfort: Reduces standing fatigue, insulates feet from cold/vibration, and increases productivity.

  • Safety: Anti-slip textured surface provides excellent traction, even in wet conditions.

  • Eco-Friendly: Made from recycled rubber.


Suitable Applications

  • Fitness: Gyms, weight rooms, yoga/Pilates studios.

  • Industrial: Factory floors, assembly lines, workstations.

  • Commercial/Public: Access ramps, playgrounds, school flooring.

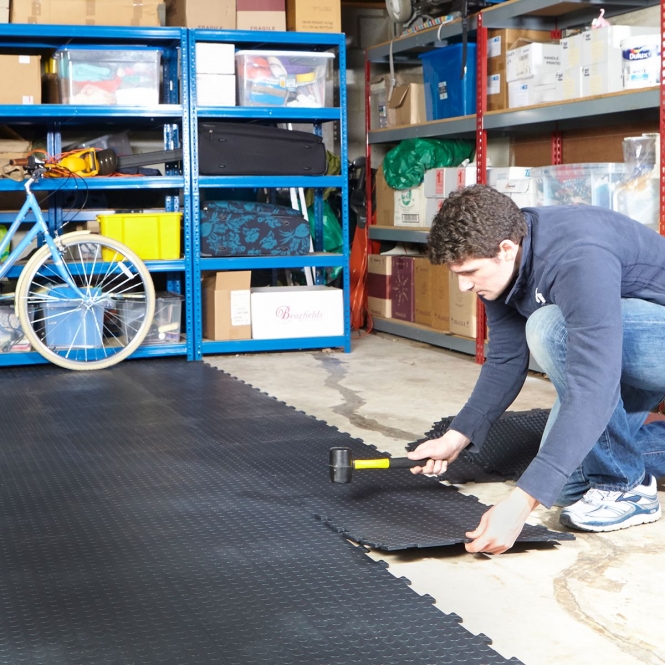
  • Residential: Garage flooring.


Advantages Over Traditional Flooring

  1. Easy Installation: The interlocking design creates a seamless fit without glue or tools, reducing tripping hazards.

  2. Durability: Highly resistant to water, oil, chemicals, and UV rays (prevents fading).

  3. Cushioning: Absorbs shock, making it ideal for high-impact activities or long standing periods.

  4. Low Maintenance: Easy to clean by sweeping, vacuuming, or mopping with mild solutions.


Installation Guide (Step-by-Step)

  1. Prepare the Area: Clean the subfloor thoroughly, removing all debris and obstructions.

  2. Start at a Corner: Lay the first mat in a corner with the interlocking edges aligned.

  3. Connect Tiles: Align the edges of the next mat and press firmly together until they lock securely.

  4. Cover the Area: Continue laying and connecting tiles until the entire space is covered.

  5. Trim Edges: Use a utility knife to cut any excess rubber at the walls or corners for a perfect fit.

  6. Secure Connection: Walk over the installed mats or gently tap them to ensure all connections are tight.

  7. Finish: Add edging or corner pieces (if available) for a polished look.

  8. Maintain: Regularly sweep and mop to ensure longevity and performance.

Toggle Dark Mode